These stacked sugar cookie Christmas trees are a festive showstopper that everyone loves. They combine soft and chewy sugar cookies layered with icing to create a 3D edible Christmas tree.
They look fancy but are surprisingly easy to make with the cookie cutters you already have at home. Whether you’re baking with kids, decorating for a party, or gifting homemade treats, these cookies never fail to impress.
If you want a shortcut, you can even use store-bought sugar cookie dough and focus on the fun part which is building and decorating your trees.
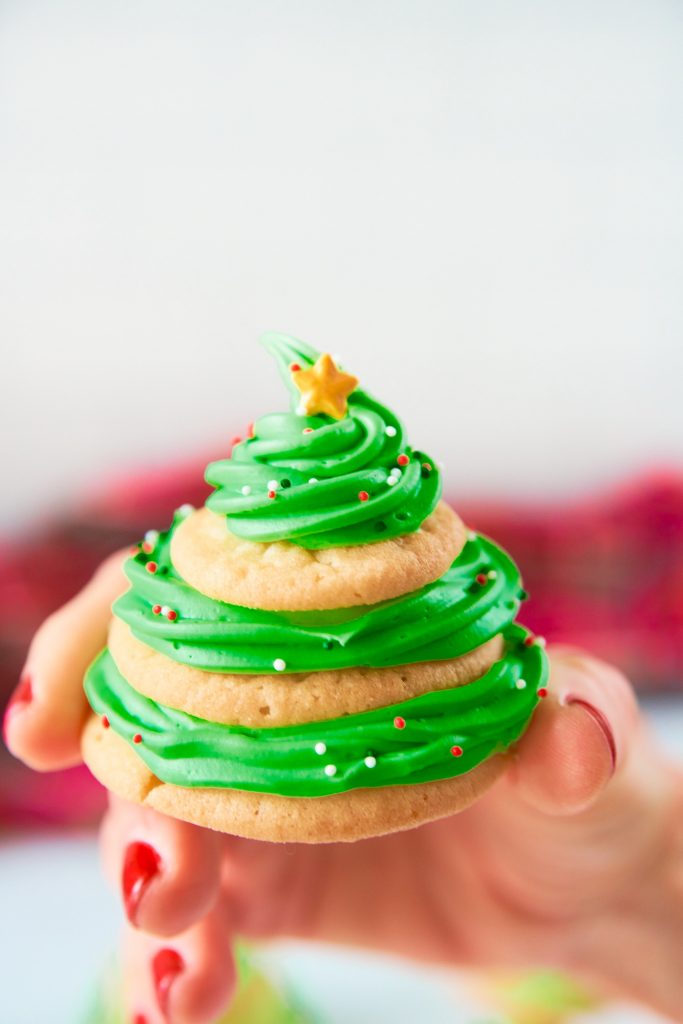
My recipe for Christmas tree sugar cookies is 100% vegan so all can enjoy, but tastes totally amazing. You certainly won’t know that there isn’t any dairy involved. Of course, if you want to use your own family-favorite sugar cookie recipe, go right ahead. It will work just fine.
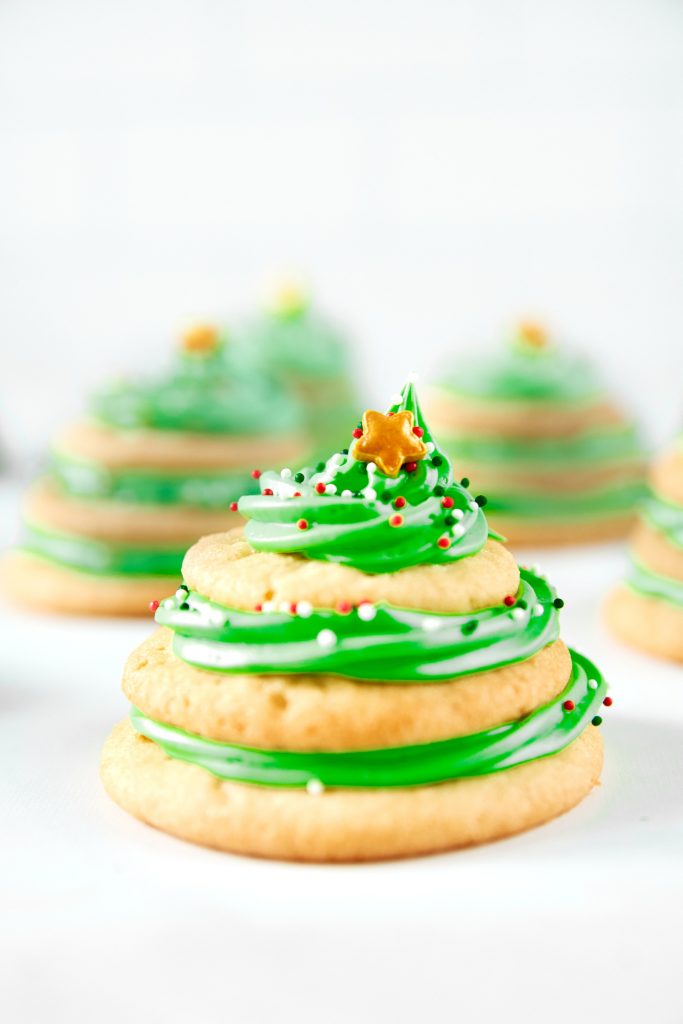
These sugar cookie Christmas trees feature soft and pillowy sugar cookies surrounded by green icing in the center.
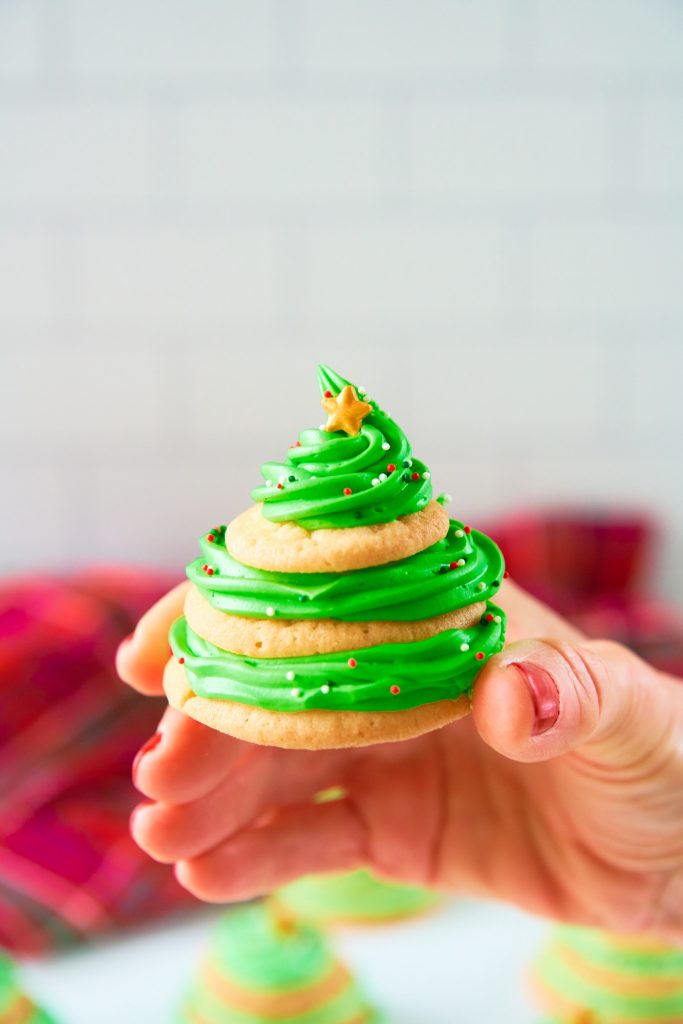
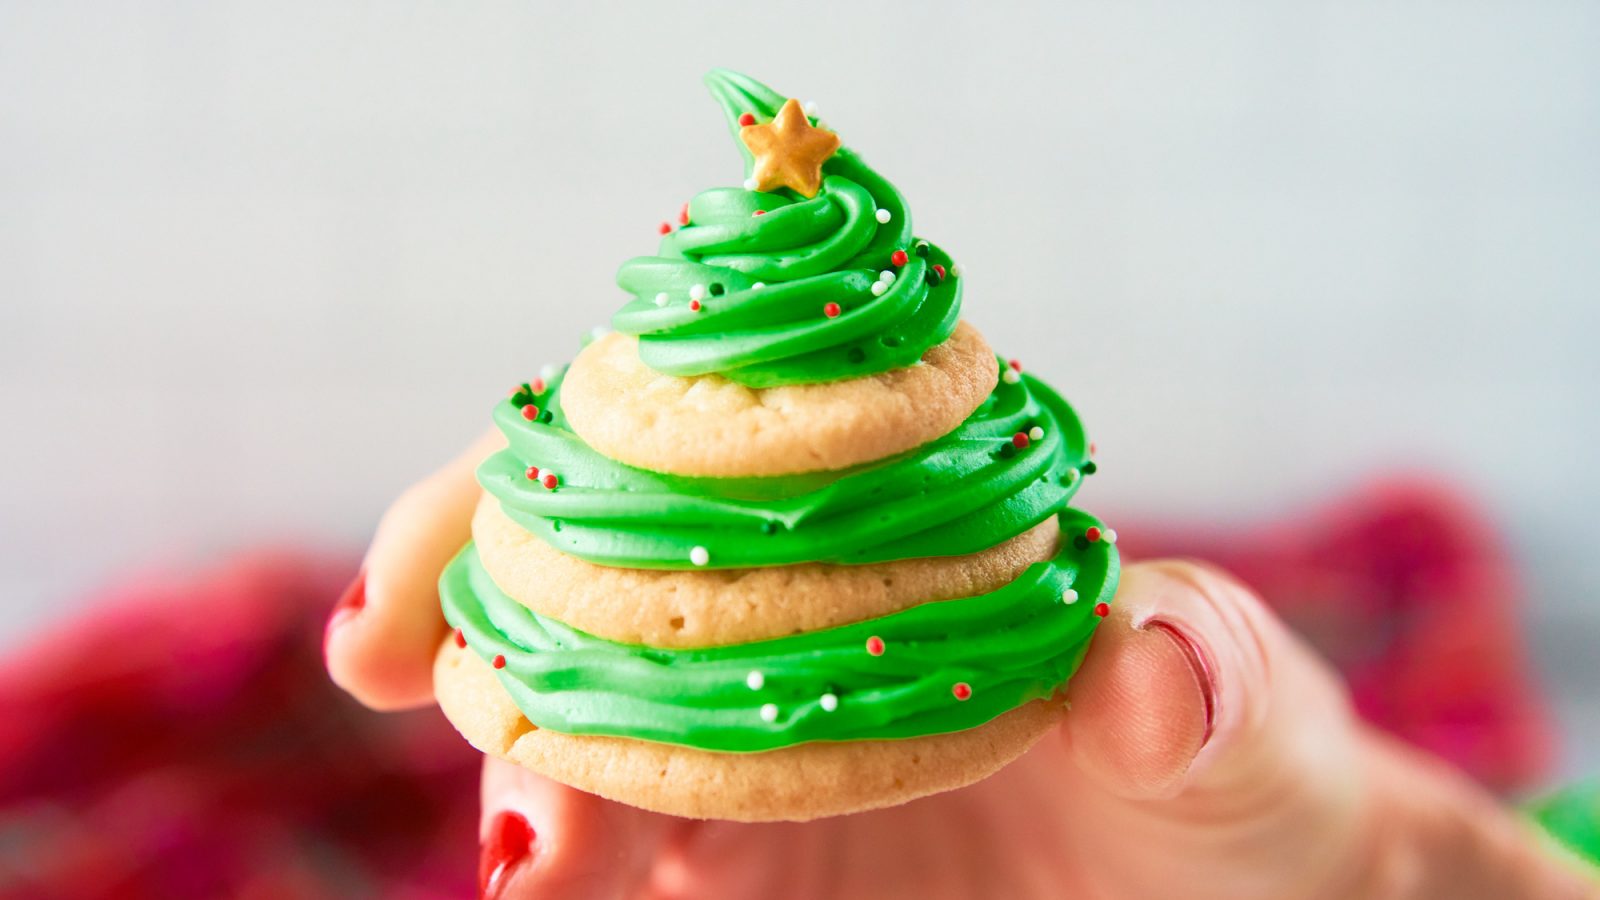
They are really enjoyable to eat because you can pull off each cookie layer and eat it individually and they are one of my favorite Christmas Cookie Recipes!
The sugar cookie Christmas trees are an investment of time and I do suggest baking them over two days, or starting early in the morning to give the sugar cookies time to cool!
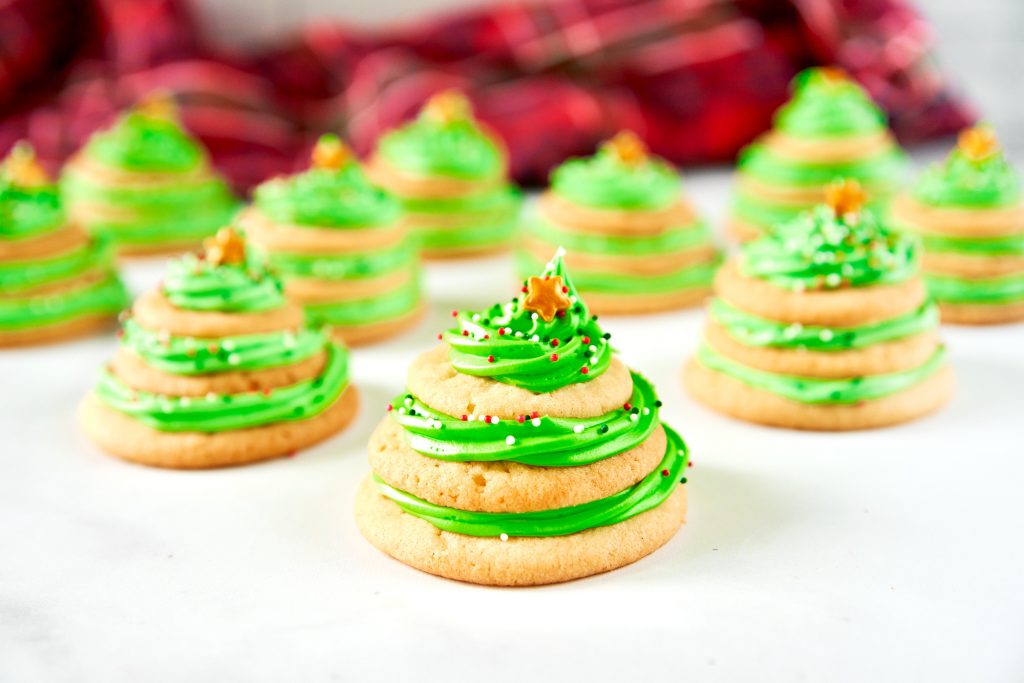
First you have to make the sugar cookies and allow time for them to cool completely. This is very easy and you simply make cookies in three sizes.
Then, you whip up your green icing and pipe it on the cookies and then decorate! I think decorating is the best part of this whole thing because that is when the stacked sugar cookie Christmas trees really come together.
I hope you enjoy making these sugar cookies as much as I do. They are a real showstopper at a party or on Christmas Eve!
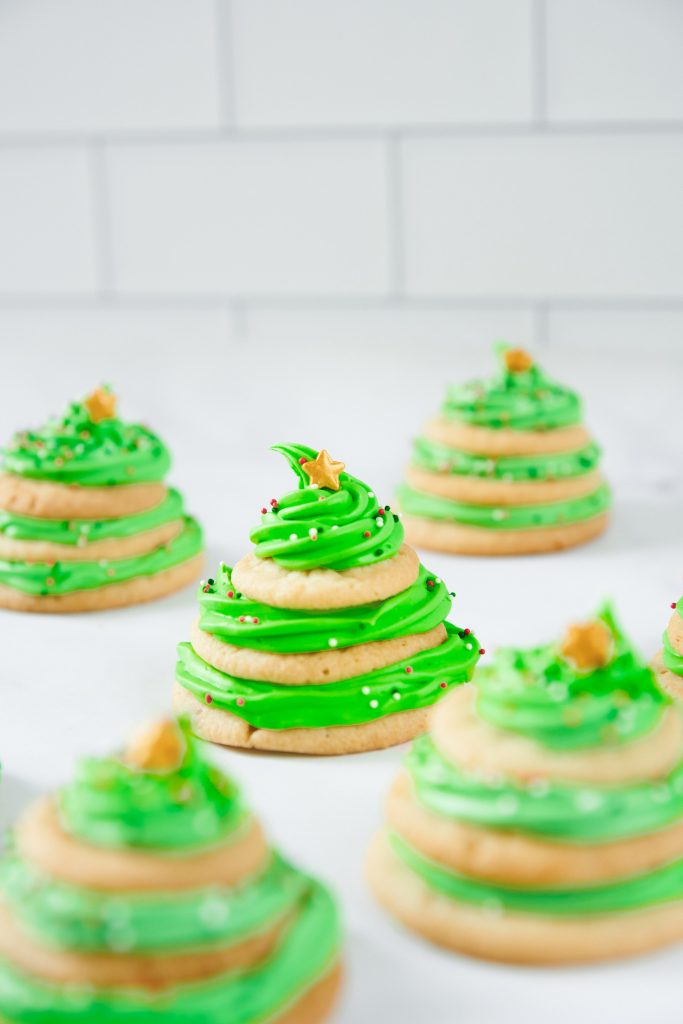
How To Make The Sugar Cookies
Making the sugar cookies is super simple!
For this recipe, you will be using my easy vegan sugar cookie recipe as a base.
If you aren’t vegan or you don’t care, you can always use slice and bake sugar cookies or the kind in a tube from the store.
Otherwise, here they are using my super easy recipe!
All you have to do is combine flour, sugar, baking soda, vegan butter, water, and vanilla in a food processor and pulse until soft.
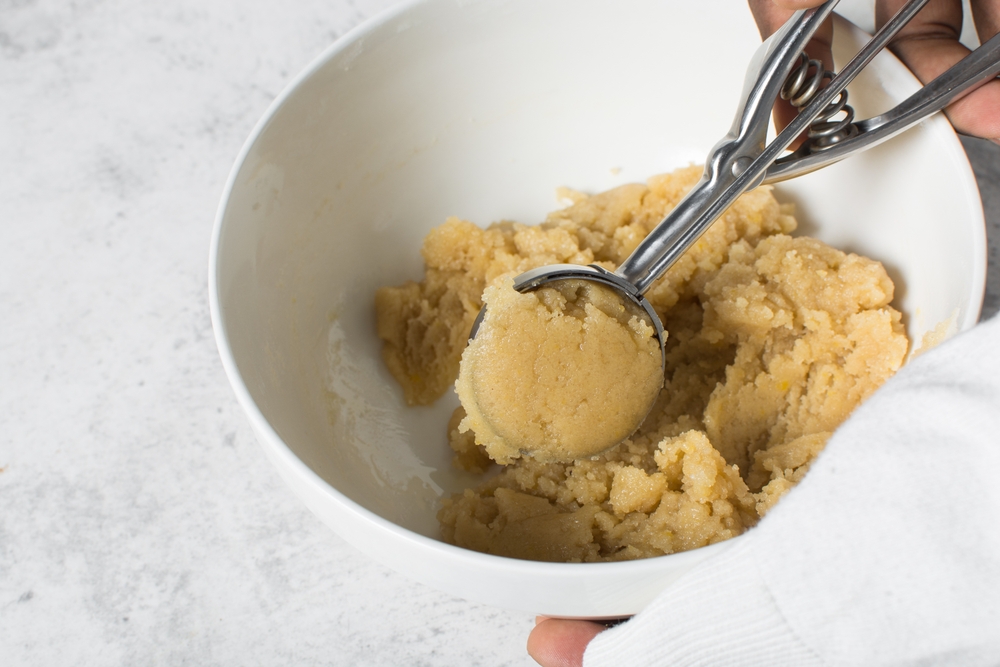
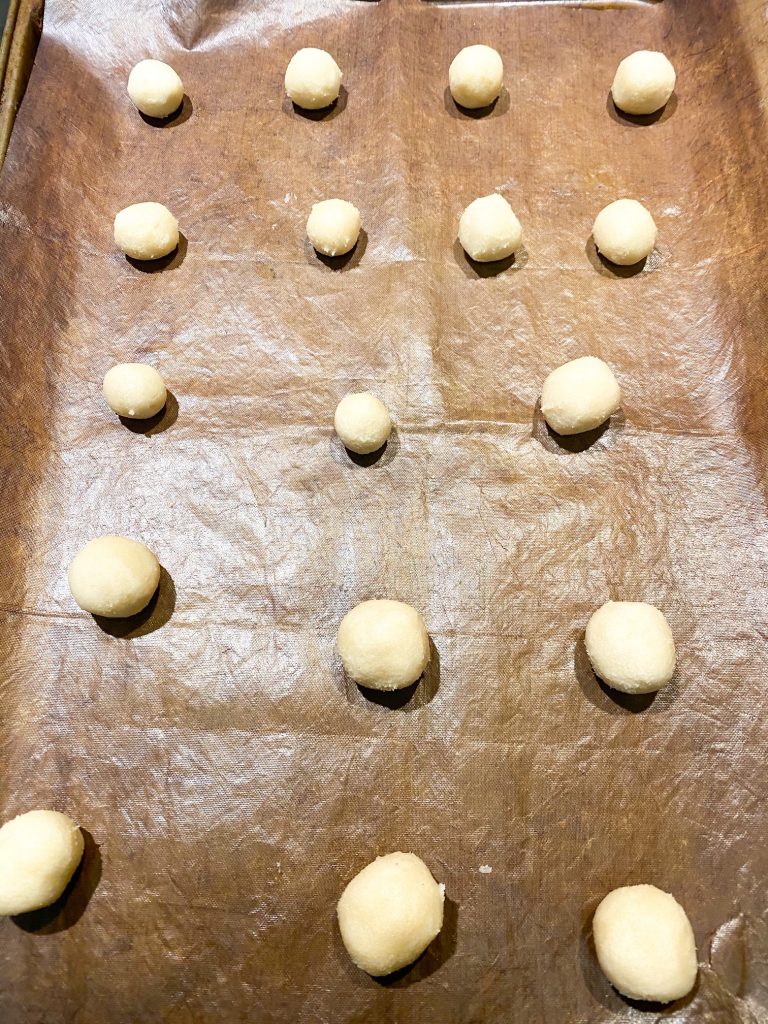
You don’t even have to roll out these sugar cookies. Simply form them into 1, 2, and 3 teaspoon size balls before baking.
Depending on your oven, you may need to flatten them with the back of your spoon if they don’t start to spread after 5 minutes of cooking.
Since we aren’t rolling them out, you just want to ensure they are flat when making the stacked sugar cookie trees so there is a flat surface.
How To Make The Frosting For The Sugar Cookie Trees
The frosting is the best part of the stacked sugar cookie Christmas trees!
It provides the yummy filling and is what makes the plain sugar cookies blossom into a cute Christmas tree that is 3-D!
For this recipe, we are going to follow my 4-Ingredient Vegan Vanilla Icing recipe and add a little green food dye.
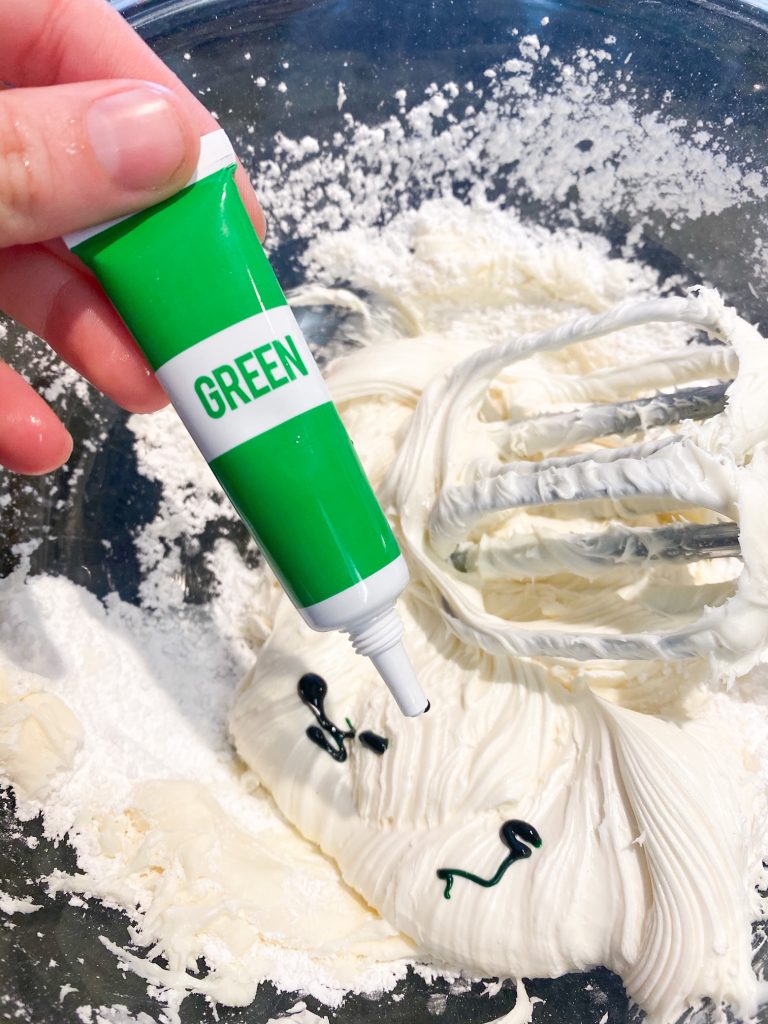
I don’t normally use food dye in my cooking either, but I make an exception for the Christmas tree sugar cookies because they are SO festive!
The key to making good frosting for this recipe is to make sure that it is thick enough to stand up when piping and stacking.
You will combine 1 cup vegan butter, 4 cups powdered sugar, 2 teaspoons vanilla extract, and 3 tablespoons vanilla non-dairy milk.
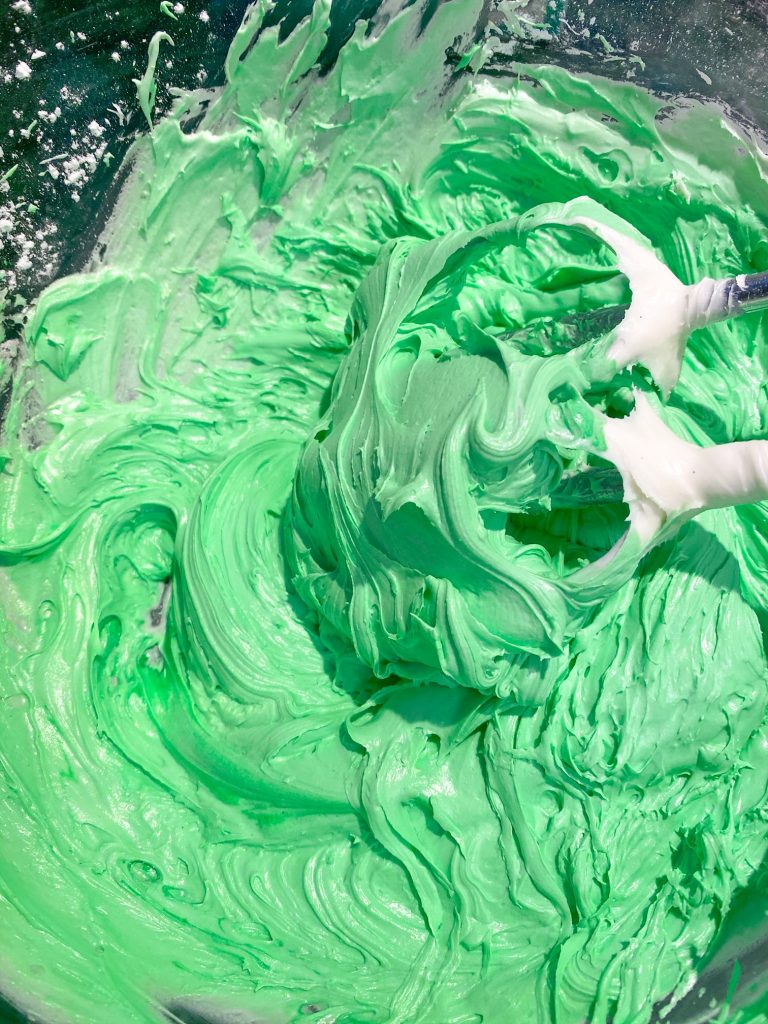
If you do not feel like it is stiff enough, you can add more powdered sugar, 3 tablespoons at a time.
I used gel food coloring to color my icing but you can use the drops too. I find that the drops are easier at coloring faster as I had to use an entire tube of green food coloring to make this icing green!
You will want to beat your icing and then add the green dye until you reach your desired color. A little coloring will make it a light green color and a lot will achieve a darker green.
I prefer a darker green look for the sugar cookie Christmas trees, but you can play to your preference.
Then, pop it in your piping bag and you are ready to go!
If you want to use store-bought green icing, be my guest! But you may need to add more powdered sugar as explained above as the icing may not be stiff enough to hold up the stacked sugar cookie Christmas tree and all of its decorations.
How to Make Stacked Sugar Cookie Christmas Trees
Now that you have prepared your green frosting and your sugar cookies, it is time to assemble the trees!
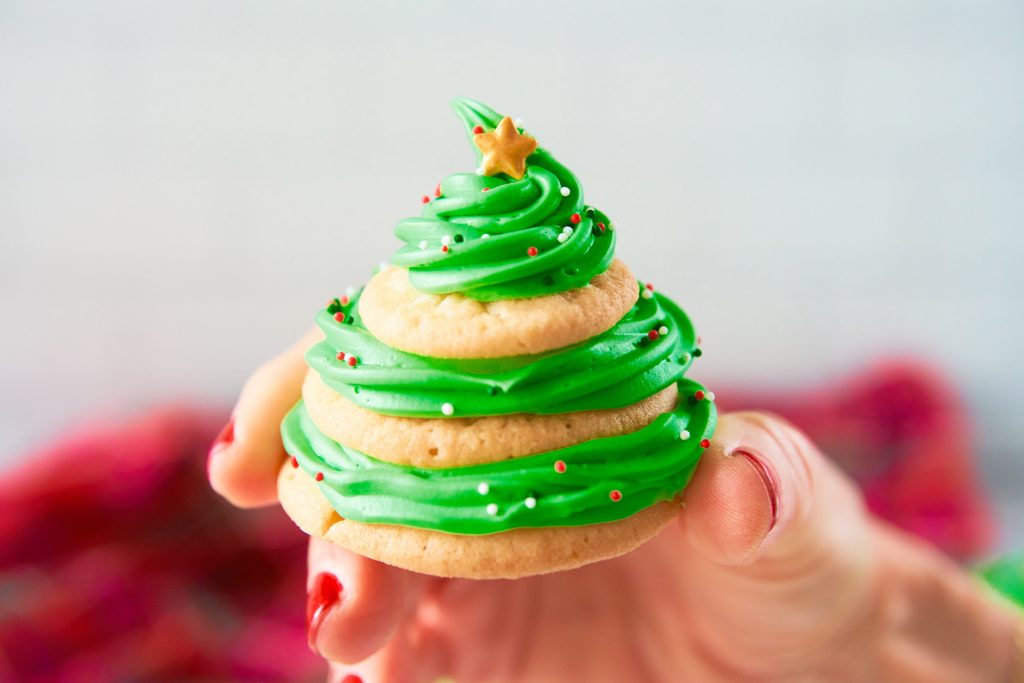
This is super easy. ou’ll need at least three or four graduated sizes to create that tree shape. Once baked and cooled, stack them from largest to smallest with icing between each layer to hold them together.
First, you want to place the largest sugar cookie on a plate or cookie sheet. I recommend doing this on a tray so that you don’t have to move the cookies too many times. Many plates are often concave as well and not flat.
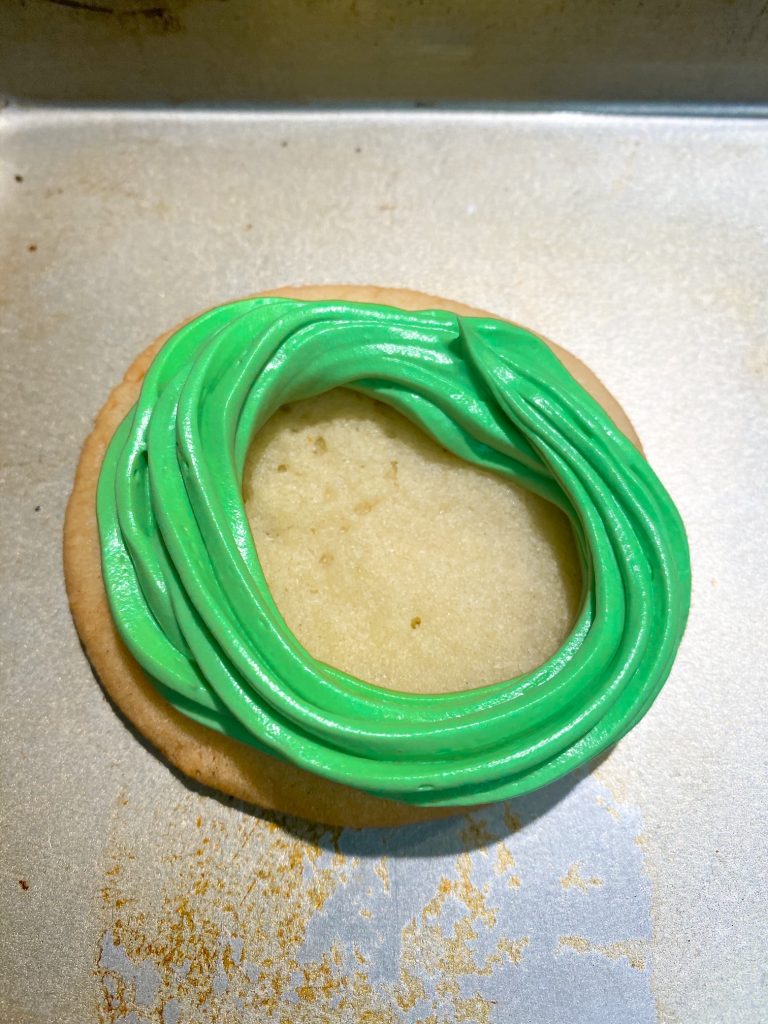
Then, in a circular motion, pipe the green frosting in 1-2 layers using a medium star tip on your piping bag.
If you have never used a piping bag, it takes a little getting used to, but after a few rounds, you will be okay, I promise!
Next, place the medium-sized cookie on top of the first layer of icing.
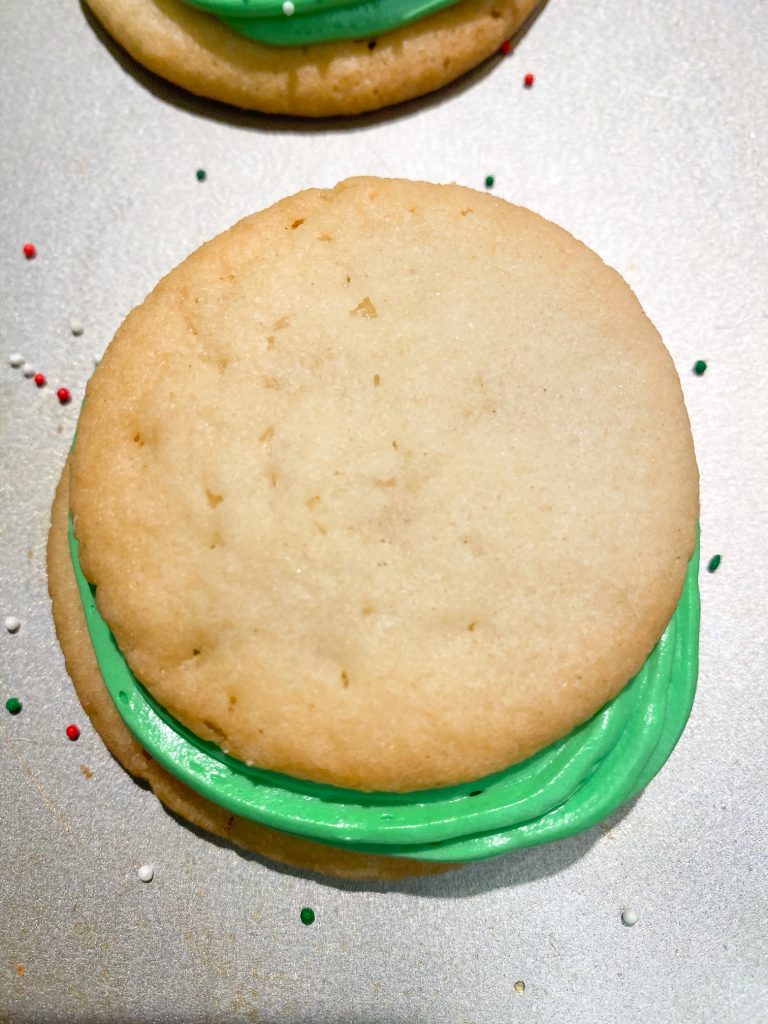
Then, pipe icing on top of the medium-sized cookie going around in a circle 1-2 times.
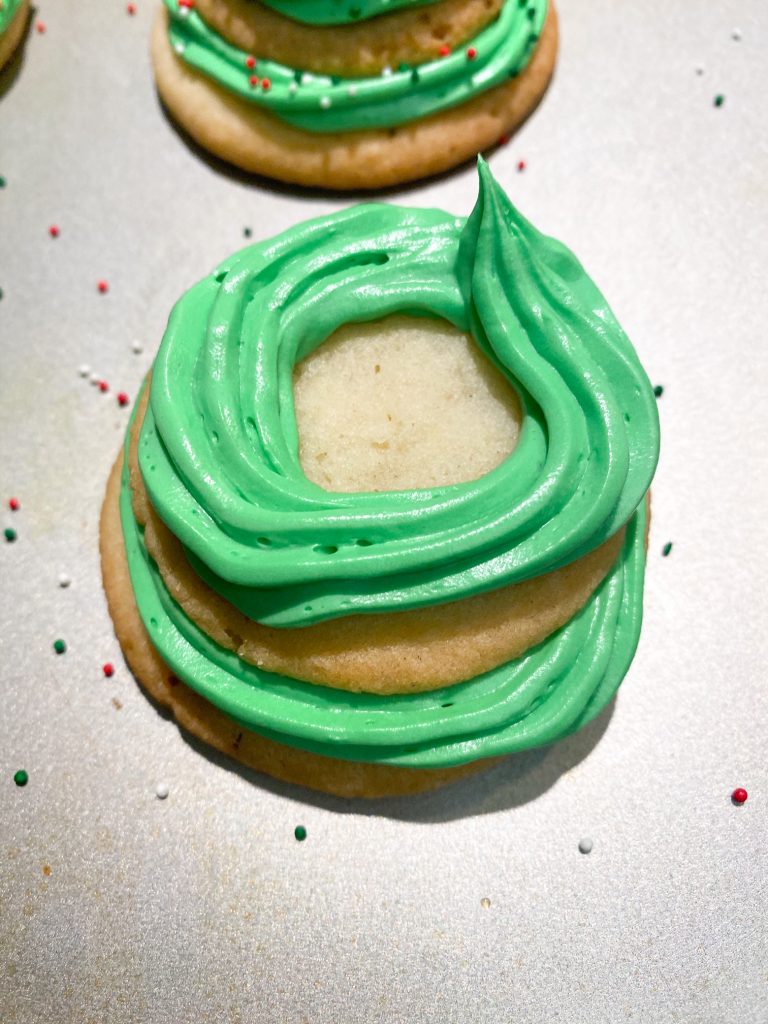
Add the smallest cookie on top and then pipe one last bit of green frosting in a circular fashion and leave a little “peak” at the top.
When piping, make sure to leave a little edge so that you can grab the bottom of the largest sugar cookie without messing up the cookie tree! This will also help you transport the cookies and will stop them from bumping into each other and ruining.
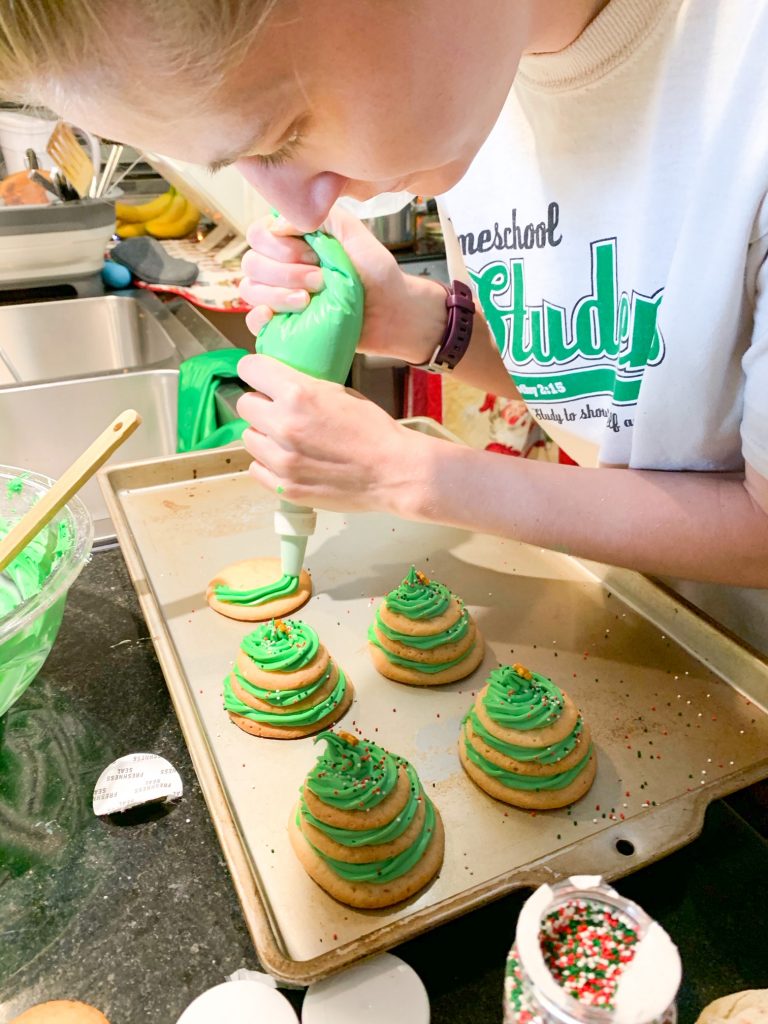
Finally, you will want to decorate the stacked sugar cookie Christmas tree using sprinkles and a sugar star.
These Wilton Edible Glitter Stars are perfect for the topper and These Are The Sprinkles that I used for the ornaments!
I do think any ball-shaped sprinkles work well for the ornaments, but I do recommend buying Star-Shaped Sprinkles for the tree toppers to really bring the sugar cookie Christmas tree together!
Once you get the hang of putting together the first stacked cookie tree, you will easily be able to do the rest rather quickly.
I suggest assembling them all first, and then decorating the whole plate once you are done with the sprinkles and star topper.
Variation: Make Them Look More Realistic
If you want a more natural or rustic version of your stacked Christmas tree cookies, you can:
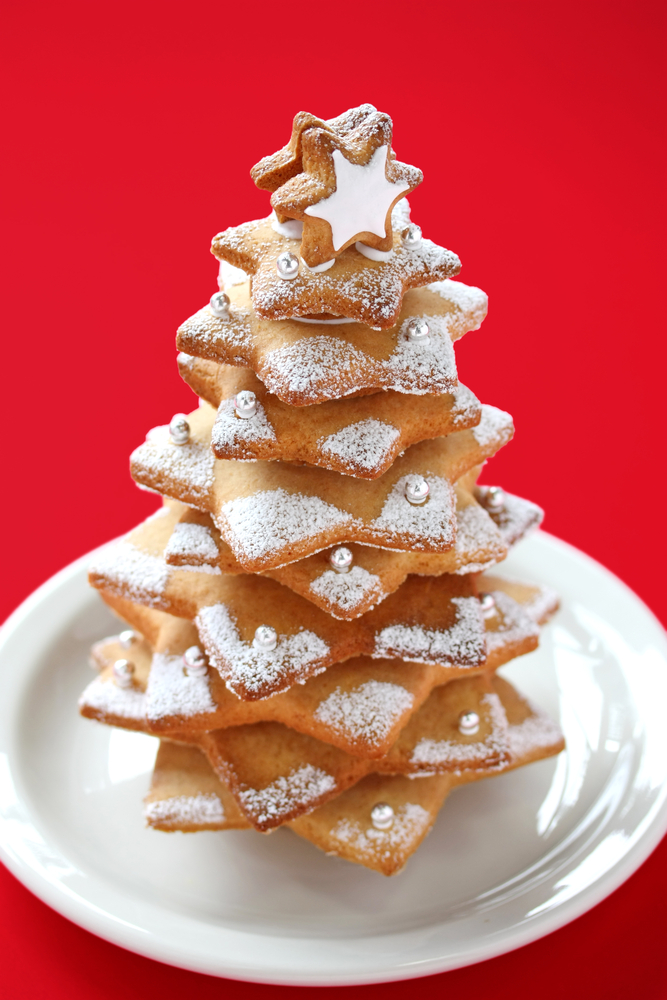
- Buy ready-made star-shaped cookies and layer them for an easy “assembly-only” project.
- Use gingerbread stars instead of sugar cookies for a deeper colour and spiced flavour
- Add a drizzle of white vegan chocolate to mimic snow.
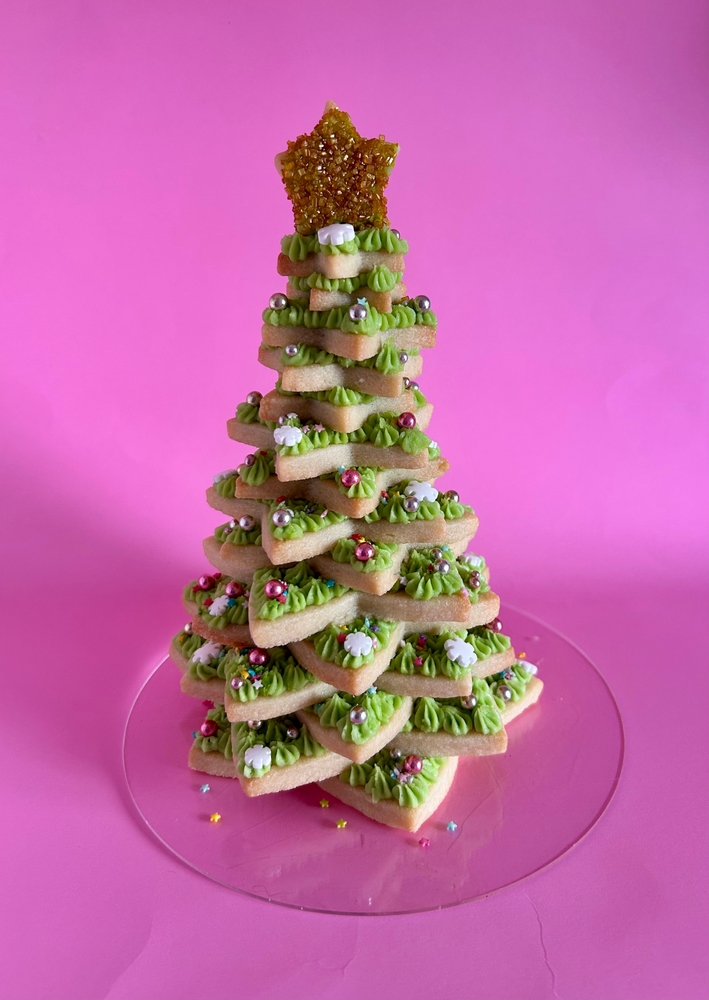
- Stack them taller for a dramatic centrepiece, or keep them short and simple for edible gifts.
How To Gift And Store The Christmas Tree Sugar Cookies
Believe it or not, these cookies are really easy to store. I do not recommend freezing them assembled, you will want to make them a few days before your event!
Because of the stacked nature of the sugar cookie Christmas trees, they store well. You see, the largest sugar cookie that is the base will touch up against all of the other large sugar cookie bases and none of the icing will ever touch the other cookies that you are storing it with.
It is like magic and a really great and easy way to store the stacked sugar cookie trees. Each stacked sugar cookie Christmas tree protects the next.
They store well for 2-3 days in an air-tight container in the fridge.
I like storing them in a domed container for best success so that the tops of the icing doesn’t get smooshed down!
For gifting, wrap each stacked Christmas tree cookies in a clear cellophane bag, tie it with ribbon, and add a gift tag — they’re adorable, thoughtful, and totally Instagram-worthy.
Stacked Sugar Cookie Christmas Trees FAQ
Can I make these cookies ahead of time?
Yes! You can bake the cookies up to two/three days ahead and store them in an airtight container. Wait to stack and decorate until closer to serving so the icing stays fresh and crisp.
Can I freeze the cookie dough?
Definitely. Wrap the dough tightly in plastic wrap, then freeze for up to two months. Thaw overnight in the fridge before rolling and cutting. You can also freeze the baked cookies (undecorated) and decorate later.
Do I need royal icing for these cookies?
Not at all. A simple vegan buttercream or powdered sugar glaze works beautifully for stacking and decorating. If you prefer a firmer structure, royal icing does help the layers hold up better, especially for taller cookie trees.
How do I keep the stacked cookies from toppling over?
Make sure the icing between each layer is firm before stacking the next cookie. If your cookies are soft, chill them briefly before assembling to help them hold their shape.
Can I make these with gingerbread instead of sugar cookies?
Yes, and it’s delicious. The deeper colour and warm spice make a beautiful, rustic tree.
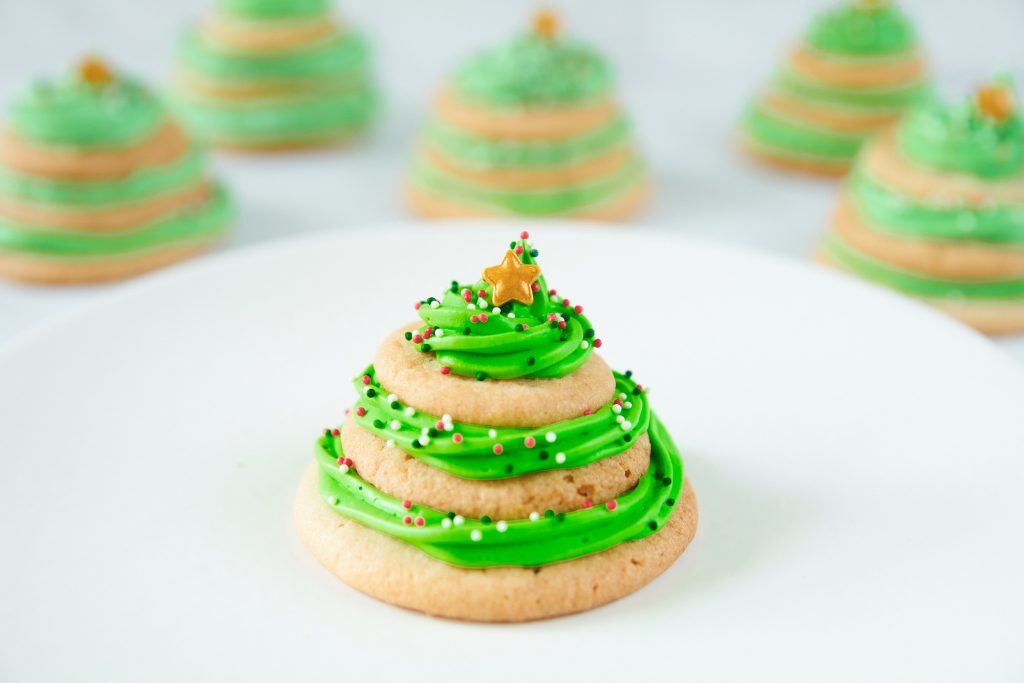
Easy Stacked Sugar Cookie Christmas Trees
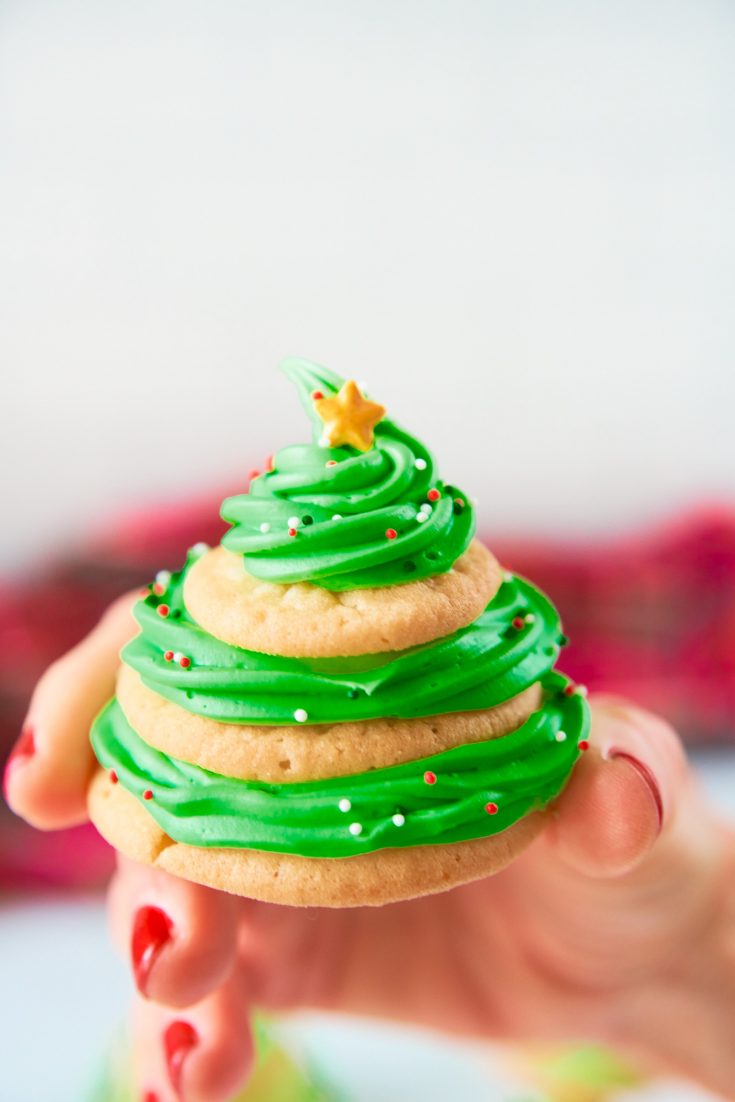
These stacked sugar cookie Christmas trees are the ultimate holiday cookie! They are 100% vegan as-is and can easily be made gluten-free when you use gluten-free flour for the sugar cookie dough. They are the hit of the party and are very easy to make and assemble, even a newbie can do it. Don't forget to decorate, that is the best part and what makes them so cute.
Ingredients
- For The Sugar Cookies:
- .
- .
- 2 1/2 cups all-purpose flour (sub gluten-free flour + 1/2 tsp xanthan gum)
- 1 cup sugar
- 1/2 tsp baking soda
- 1 cup vegan butter
- 4 tablespoons water
- 1 teaspoon vanilla extract
- .
- For The Icing:
- .
- 1 cup vegan butter
- 4 cups powdered sugar
- 2-3 tablespoons non-dairy milk
- 2 teaspoons vanilla extract
- Green food dye (until your desired color is achieved)
- .
- .
- For Decorating:
- Piping bag for icing with medium star tip
- Red and green sprinkles for ornaments
- Star-shaped sprinkles for tree topper
Instructions
- You want to begin with enough time to allow the sugar cookies to completely cool. I prefer to make my sugar cookies in advance or early in the morning before assembling.
- Preheat oven to 350F and line baking sheets with parchment paper.
- In a food processor or large bowl, combine all ingredients for the sugar cookies and pulse until combined and soft. If needed, add more water 1 tablespoon at a time.
- Using your clean hands, roll out balls of sugar cookie dough that are 1, 2, and 3 teaspoons in size. You will want an even amount of each size so that you have enough to make your cookies. So, three 1 teaspoon balls, three 2 teaspoon balls, and three 3 teaspoon balls. Place them about 2 inches apart on a baking tray.
- Bake the smallest cookies for 5-7 minutes and remove and the remaining cookies for 10-15 minutes. All ovens differ, so make sure to check on the cookies after 5 minutes. You want the edges to be lightly golden. Again, all ovens are different so your smallest sugar cookies may need longer than 5 minutes.
- If your cookies are not spreading after 5 minutes, take them out of the oven and use the back of a spoon to smoosh them down a little to help the spread. Sometimes this is necessary, just keep a close watch on them!
- Once done, take the cookies out of the oven and let them cool for 2 minutes on the pan before moving them to a wire rack to let them cool completely.
- Now, make the frosting. In a large bowl, cream vegan butter with an electric hand mixer until it is light and fluffy. I do not recommend trying to make vegan vanilla frosting using a whisk. An electric mixer is a must!
- Slowly add the powdered sugar, non-dairy milk, and vanilla and beat on high until combined. Continue to mix the frosting for 2-3 minutes until it is smooth and stiff peaks form. Add in the green food coloring. You may need a lot to achieve a darker green color. I used an entire tube of gel coloring!
- If you are using a piping bag and you find this recipe to be too thin, add more powdered sugar 1/4 a cup at a time and beat until combined. If you find the icing too thick, add more non-dairy milk 1 tablespoon at a time.
- To assemble the stacked sugar cookie Christmas trees, start with the largest cookie first. Pipe a circle around the edges of the largest cookie and stack the medium sized cookie on top. On top of the medium-sized cookie, pipe another circle of icing. Place the smallest cookie. Finally, pipe a small circle and leave a little peak on top for the top of the Christmas tree cookie.
- Once you stack and pipe all of the sugar cookie Christmas trees, you will want to decorate them. Using your fingers, lightly drizzle the sprinkles on top of each one and press one star sprinkle into the top of the icing. Be careful not to smudge the icing.
- Enjoy! These cookies are showstoppers and well worth the work!
 Crispy Vegan Tofu Nuggets (Baked)
These look so cute, im going to have to try them with my nephew. Thanks . Im going to try the pumpkin cake in a mug too.