If you are looking for a classic vegan waffles recipe, you have come to the right place!
Along with Vegan Bread Pudding, I am obsessed with waffles! It can be very hard to come across vegan waffles when eating out, and it is even difficult to find frozen vegan waffles at some grocery stores.
Which is why I created this easy vegan waffles recipe so you can make them for breakfast or brunch, or breakfast as dinner, right at your own house!
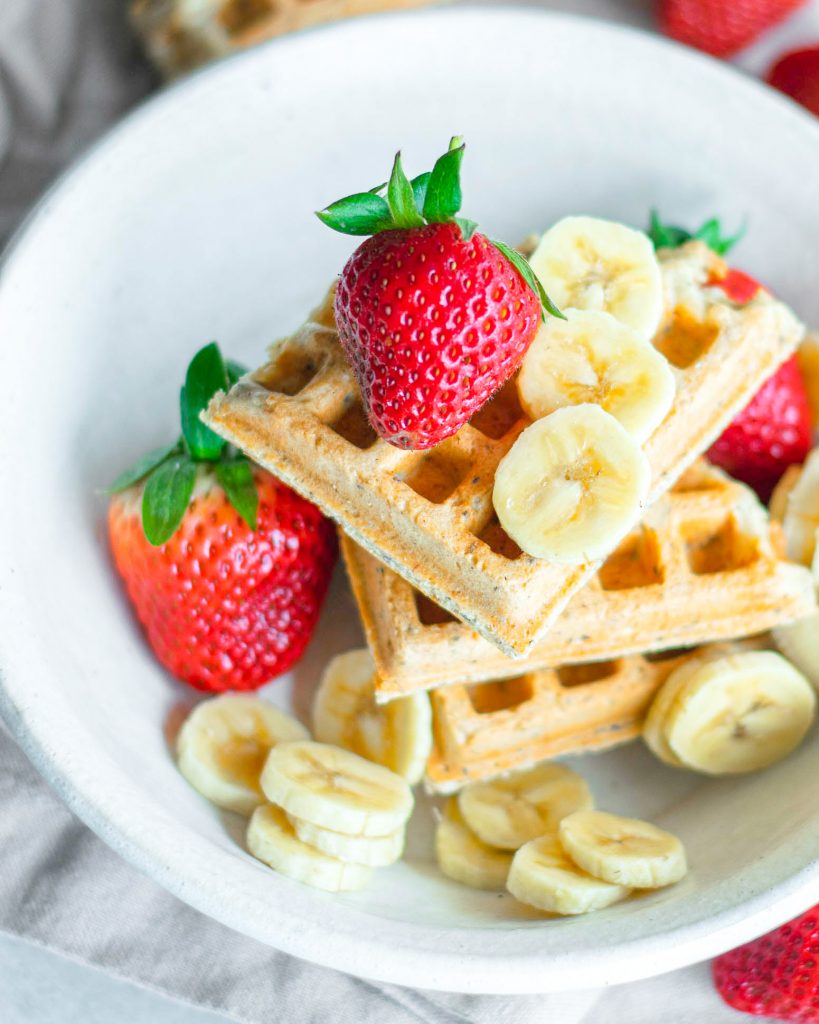
This waffle recipe uses only 7 ingredients, most of which you probably already have in your kitchen. It is simple and quick so you aren’t spending your entire morning making them!
If you follow this recipe to create your own vegan waffles mix, the finished product will be crispy on the outside and fluffy on the inside, just the way you want waffles to be!
I recommend letting the batter rest for 10 minutes. I do think that this step is important!
You can use that “rest” time to clean the kitchen or make another vegan breakfast specialty such as a Greek Frappe to go along with your meal.
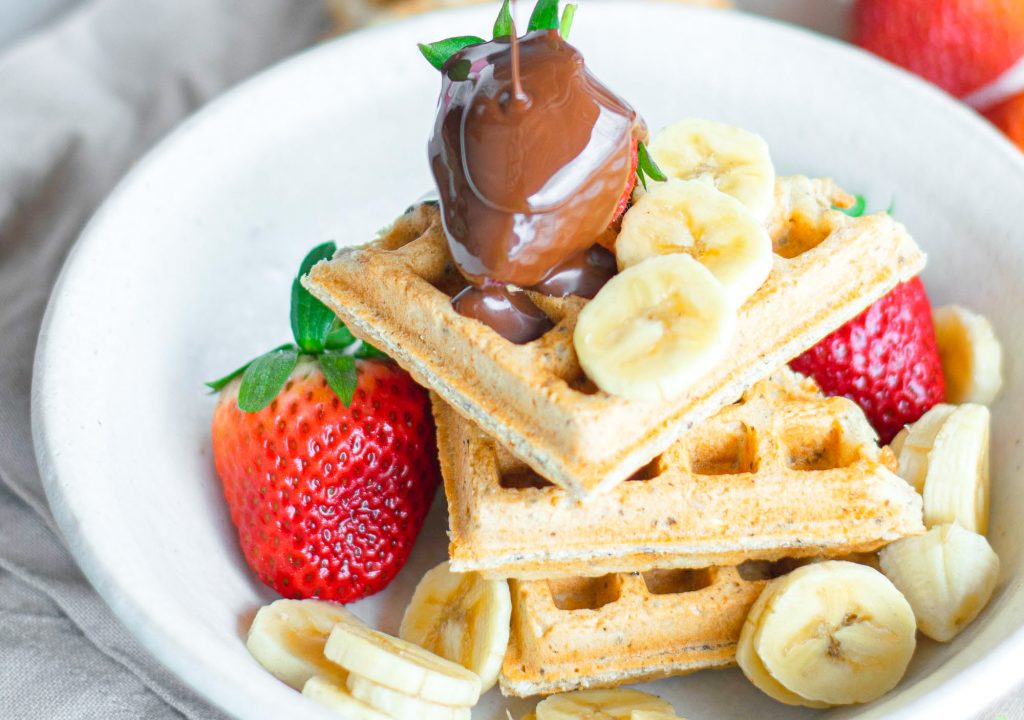
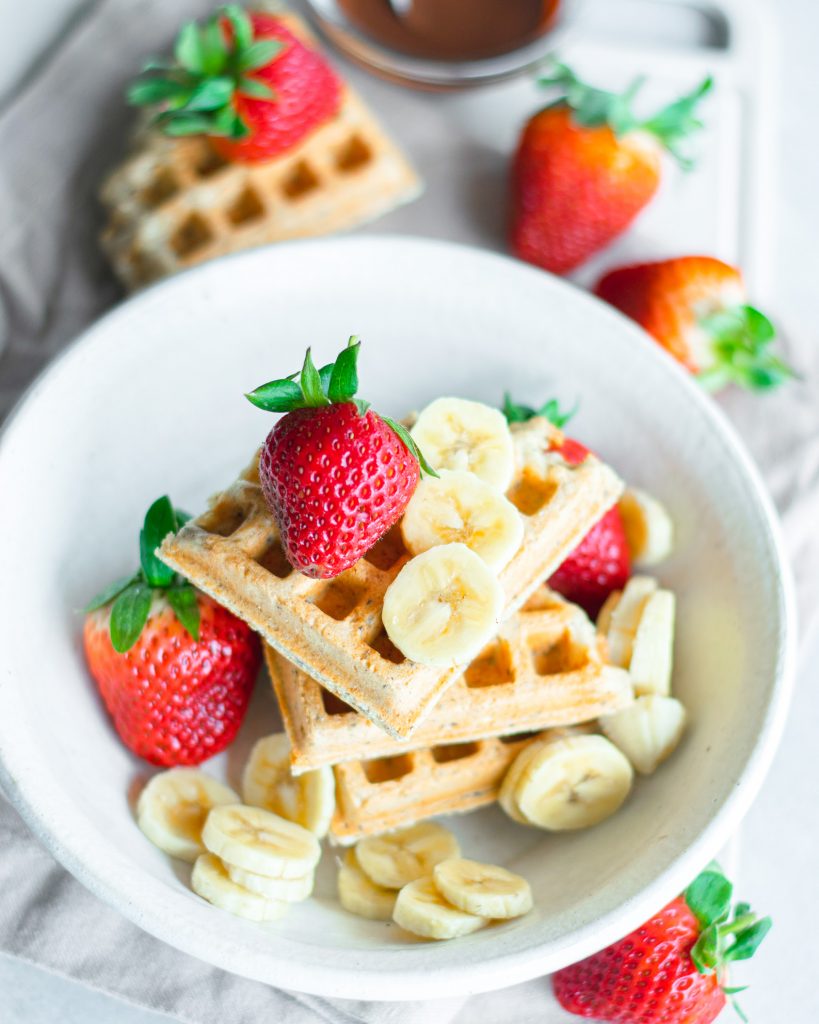
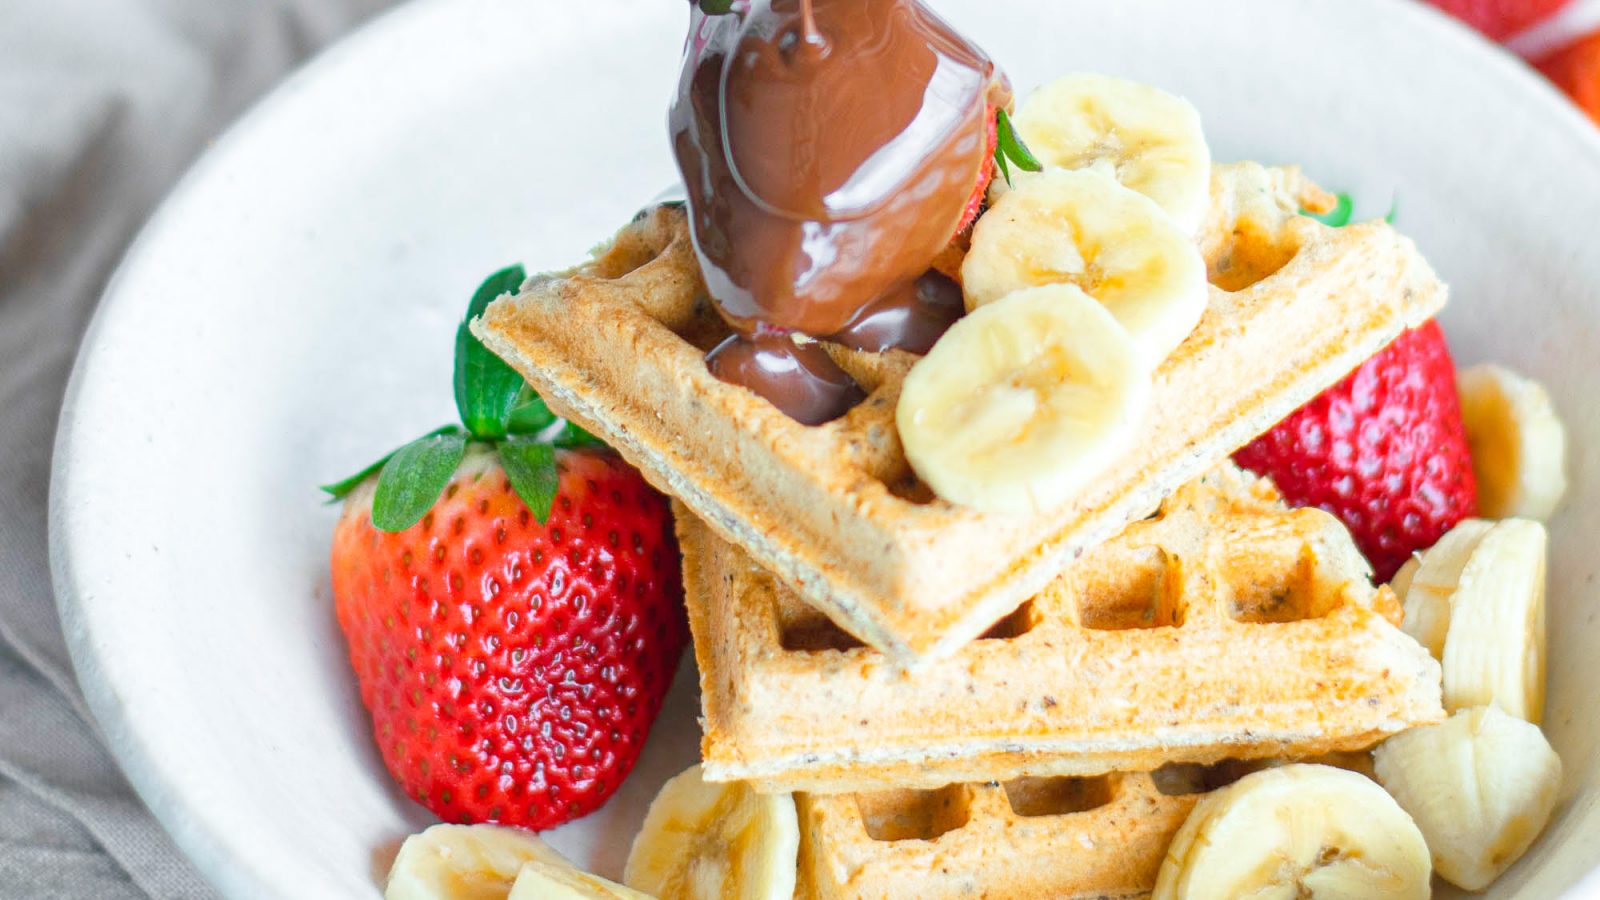
Top your easy vegan waffles with any toppings you desire! Fresh fruit, maple syrup, and chocolate chips are some of my favorites!
What Type Of Waffle Iron To Use
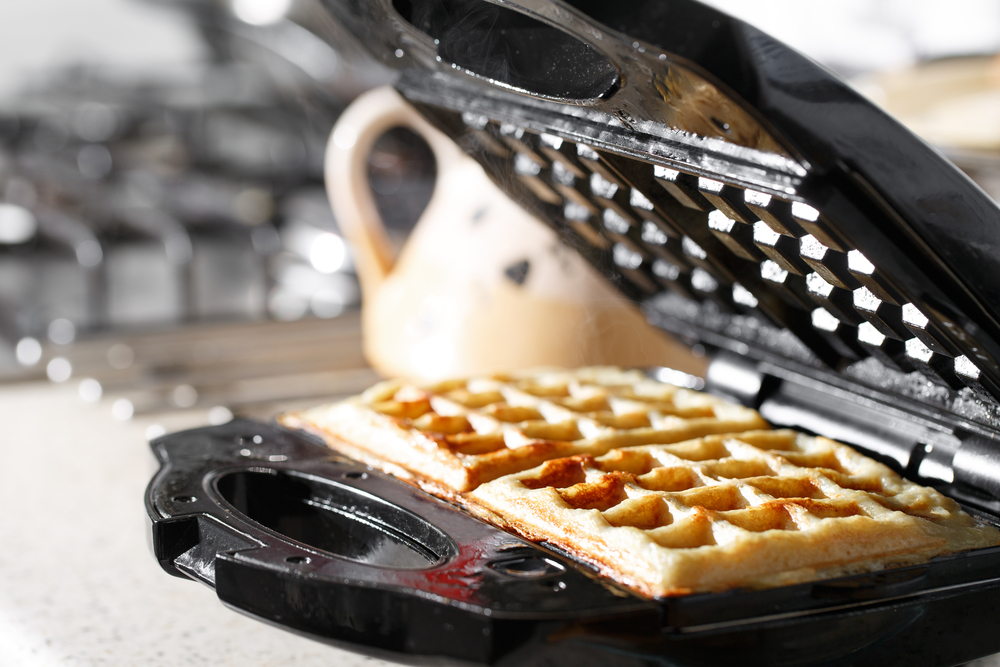
I recommend using a Waffle Iron With Removable Plates to make these vegan waffles. Of course, you can use whatever waffle iron you have at home, but I am talking about if you want to buy one to make your waffles.
I love a waffle iron with removable plates because it makes the cleanup process so much easier!
If you are using one without removable plates, you have to use your sponge or a toothbrush to carefully clean the teeth of the waffle iron.
With removable plates, you can simply take them out and wash them in the sink or pop them in the dishwasher.
If you are looking for a new waffle iron, I broke down my 5 Favorite Waffle Makers With Removable Plates to help you choose!
How To Make This Easy Vegan Waffles Recipe
Making waffles vegan is so easy! This recipe doesn’t even use a “flax egg” or any other type of egg substitute!
It is just pure and simple ingredients that you are sure to easily have on hand any time you have a craving!
First, you combine the non-dairy milk of your choice, apple cider vinegar, oil, and vanilla extract.
In another bowl, add your dry ingredients and use a fork or whisk to combine.
Add the wet ingredients to the dry ingredients and mix well. Make sure that a thick batter forms so that you can easily scoop the mixture onto the waffle iron.
Taste your batter and add more sugar or vanilla extract as desired.
I have made this vegan waffles recipe with no sugar at all many times and I do not include sugar in my Vegan Pancakes Recipe so feel free to leave it off if you aren’t interested!
Next, let the waffle batter “rest” in the fridge for about 10 minutes. Do not skip this step as letting the batter rest really helps it form the correct texture.
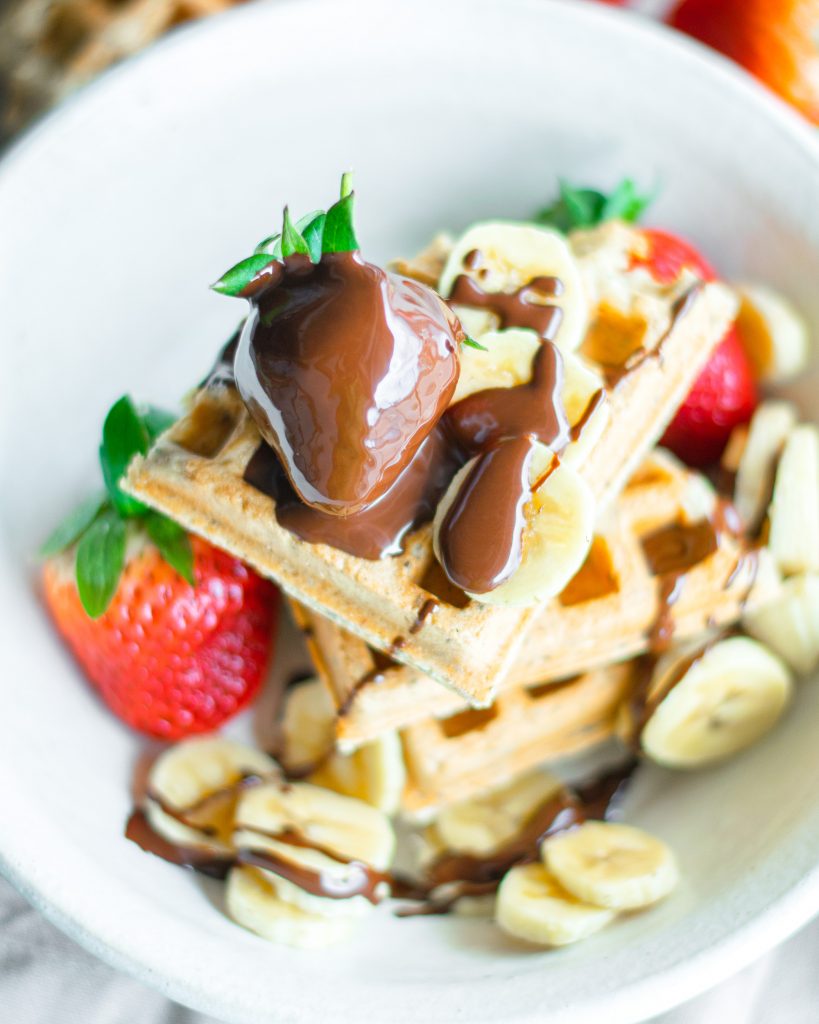
While the batter is resting, preheat your waffle iron, clean your kitchen, or use this time to make a tasty drink such as Whipped Coffee to go along with your vegan waffles!
When your waffle iron is hot, use a pastry brush or spray oil to coat the hot irons to prevent the batter from sticking.
Pour the batter one spoonful at a time until your waffle iron is coated. Make sure to lump the batter in the middle.
Cook according to your waffle iron settings. Make sure to adjust the amount of batter that you add according to how large or small your waffle iron is!
And that is it! That is all you have to do to make this easy vegan waffle recipe!
Just serve with your choice of topping! I like strawberries, chocolate chips, maple syrup, nutella and more! The options are endless!
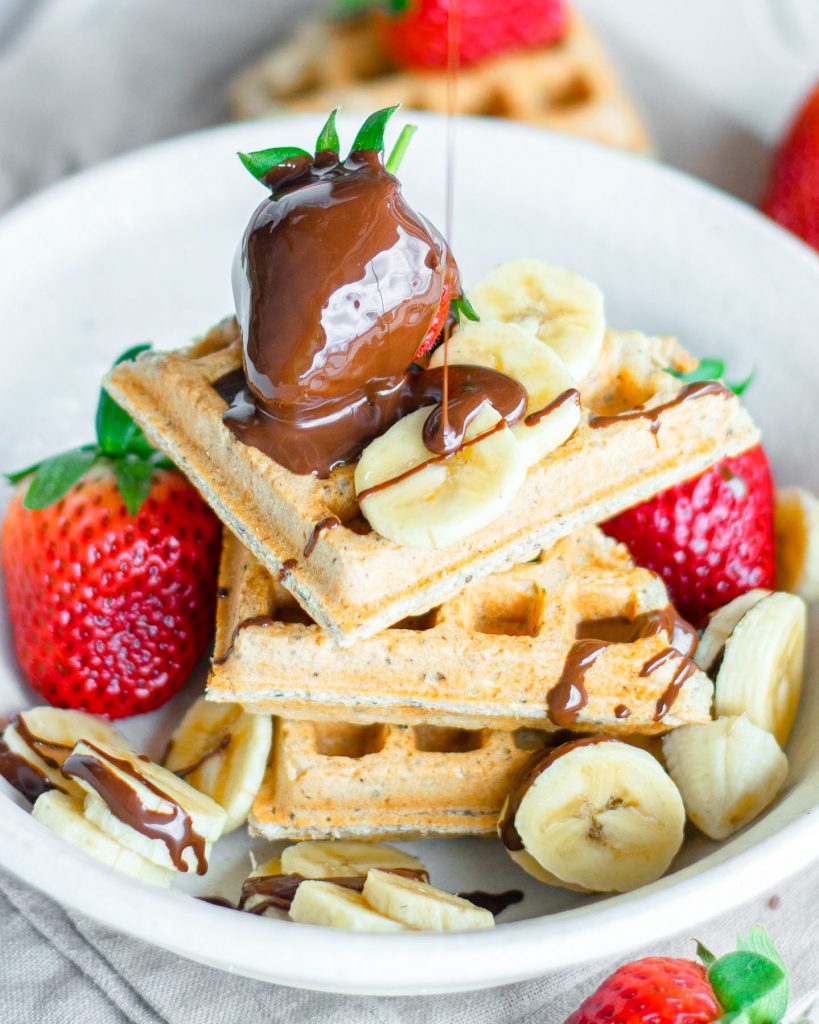
How To Store The Vegan Waffles
One thing I love about this vegan waffle recipe is that it keeps so well!
You can make a big batch and have enough to meal prep for the week!
These vegan waffles can keep in an air-tight container in the fridge for 3-5 days. You can even eat them cold!
To heat them up, pop them into a toaster on a low setting until they are warm. This will crisp them back up and it is so delicious and easy.
You can also choose to use A Toaster Oven which provides similar texture to the toaster with a slightly different flavor.
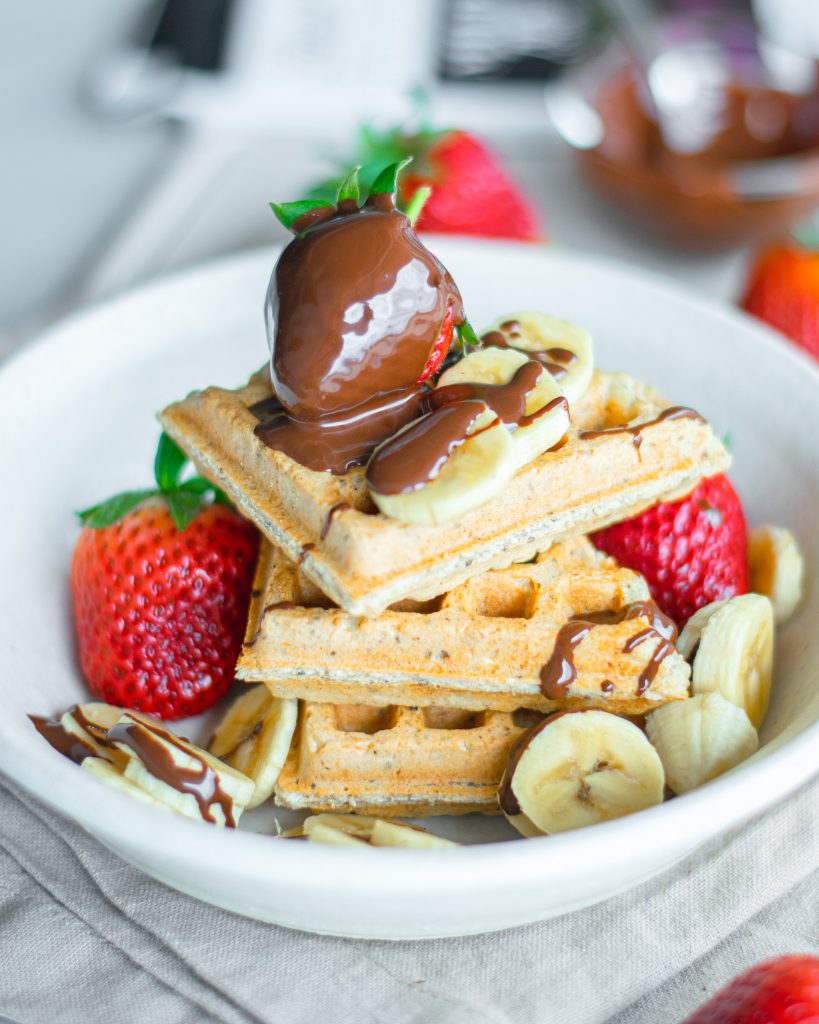
You can also use your hands to tear them up into bite size pieces and then microwave them until hot throughout.
If you want to freeze the vegan waffles, place them on a baking sheet until they are frozen. Then store in a freezer-tight container such as a ziploc baggie or tupperware.
They keep in the freezer for 3-4 months!
Easy Classic Vegan Waffles Recipe
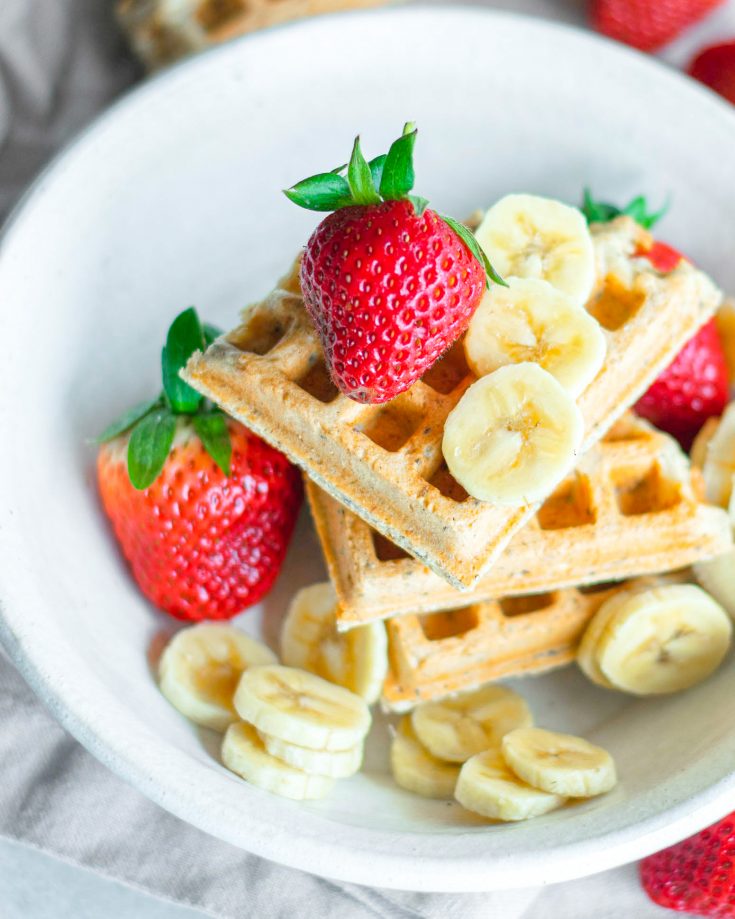
This classic vegan waffles recipe is an easy take on the traditional breakfast favorite! They are crispy on the outside and fluffy on the inside, just as waffles should be!
You can choose to use the sugar or go without and just add the sweetness with your toppings! You can also choose to use gluten-free flour for tasty gluten-free waffles!
Make sure to top them with your favorite topping, maple syrup and chocolate for me!
Ingredients
- 1 3/4 cups all purpose flour (gluten-free flour works too!)
- 1/4 cup oil
- 1 1/4 cup non-dairy milk
- 1 teaspoon baking powder
- 1 teaspoon vanilla extract
- 1 teaspoon apple cider vinegar
- 3 tablespoons brown sugar or agave syrup (optional if you don't want to add sweetener that is okay!)
- pinch of salt
Instructions
1. In a small mixing bowl, combine plant-based milk, apple cider, oil and vanilla extract. Let set while you mix the dry ingredients.
2. Add all dry ingredients to a large mixing bowl and whisk all together. Add wet ingredients and mix until combined. The vegan waffle mix must be slightly thick and easy to scoop.
3. Adjust sugar and vanilla extract if needed. Feel free to leave off sugar if you don't want to add any sweetener to your vegan waffles.
4. Let set in the refrigerator for about 10 minutes. Do not skip this step. While the batter is resting, preheat your waffle iron according to instructions.
5. Generously coat waffle iron with oil spray or brush oil to prevent the batter from sticking. Pour enough batter to coat cooktop and cook accordingly to your waffle iron. Please note that the amount of batter used will also depend on the size of your waffle iron.
6. Serve immediately with desired toppings. I recommend fresh fruit, nutella, maple syrup, chocolate chips and more!
 3-Ingredient Kiwi Jam Recipe
Since oils are highly inflammatory is there a substitute that will work for this recipe?
Thank you!